Booting the Kernel
This is surprisingly relatively simple! However, it is very finickey, so be sure to follow the instructions below precisely to end up with a working result.
If you feel that you have messed around a lot and nothing's matching up with what it should be, the
command make mrproper will revert your linux directory back to what it was when you first cloned it.
Compiling the Kernel
First, to boot the kernel, we need to compile the kernel! The kernel is very customizable,
and, for now, we don't need all of its features, so enter the Linux directory and
run make tinyconfig. This creates a basic configuration that we can now edit with
make menuconfig.
Now, follow these instructions:
- Enable Device drivers → character devices → TTY
- Enable General setup → configure standard kernel features (expert users) → printk support
- Enable 64-bit kernel
- Enable General setup → initramfs support
- Disable all the compression options except gzip, since that is the compression tool that we will be using.
- Enable Executable file formats → ELF binaries and Executable file formats → scripts starting with #!
For now, this is the configuration that we will be using. Save your changes by exiting.
Compile with make; recall that you can use multiprocessing to speed up compilation. Now, just to test things out,
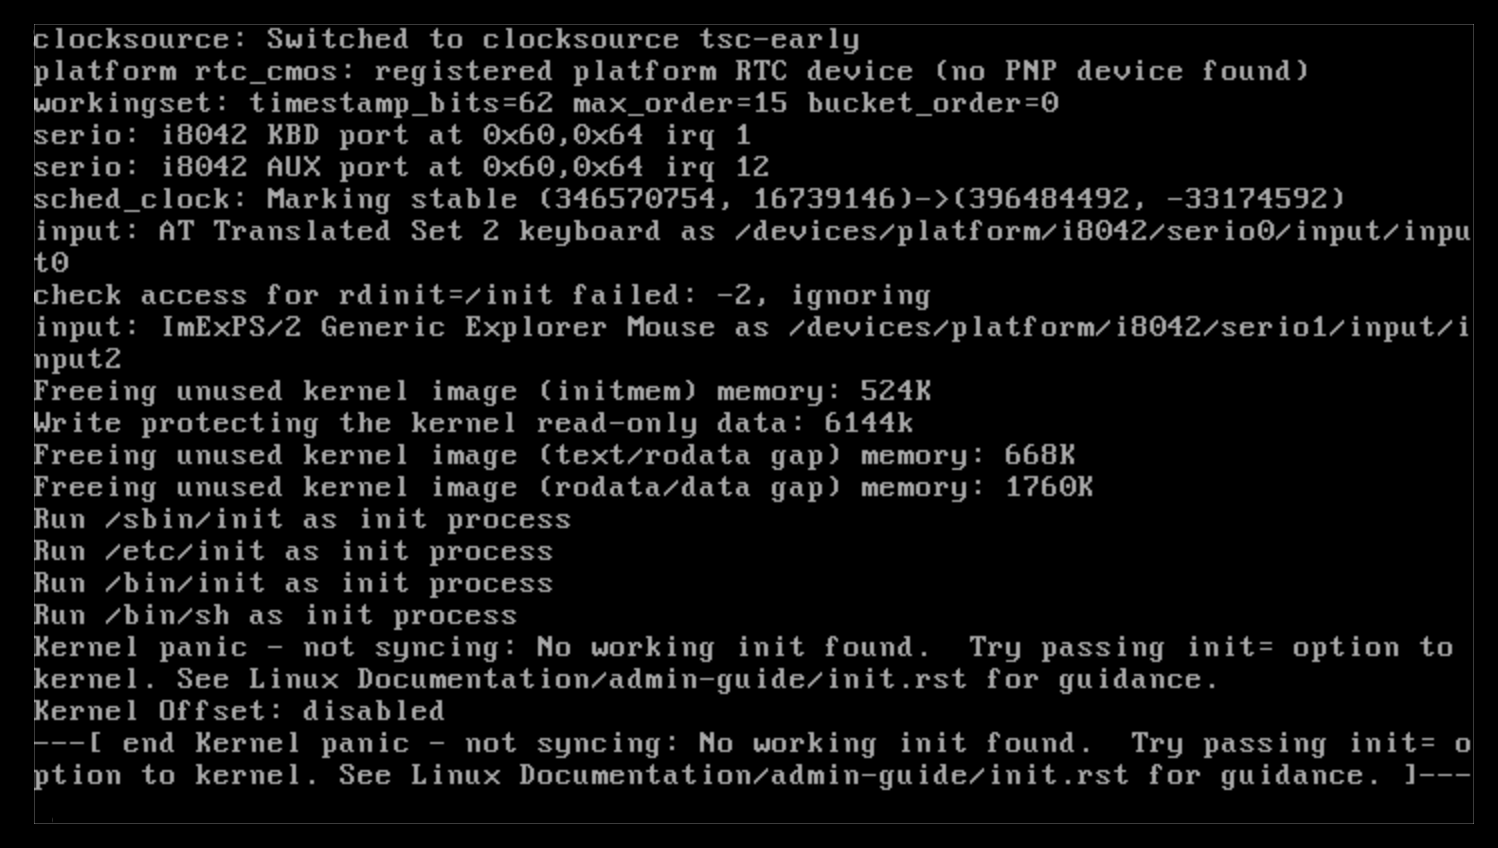
run the kernel with qemu by running qemu-system-x86_64 -kernel arch/x86_64/boot/bzImage; there should be some
output and then you should see a screen like this:
So what did we just do?
tinyconfig, as mentioned before, gives us the bare minimum we need to boot the kernel. This lets us compile it
pretty fast and customize it to do what we want. However, it leaves a lot of stuff out.
For starters, by default, it doesn't come with TTY drivers. Since a TTY is basically the terminal, without this driver, the kernel wouldn't be able to print anything out!
We'd also probably like some sort of debugging tool that's telling us what's going on; this tool is printk.
printk is essentially a C function similar to printf; it is slightly different and is modified for the
kernel's purposes. You can actually see the kernel's output on your own computer with the dmesg command!
This command reads the /dev/kmsg device, where the kernel outputs its logs, and prints it out for you.
Finally, since most devices are 64 bit, it makes sense to compile a 64 bit kernel since otherwise, we would not be able to move binaries from the host computer into the VM without the use of a cross-compiler, which is, frankly, a pain.
What about the other options? Well, we'll see soon enough!
Initrd
If you read the error message, you'll find that the kernel's saying that it can't find an init. init is
the first process that is run on a linux system; it has the process identifier (PID) of 1. In fact, you can
find that process on your own computer: ps --pid 1 yields the init process on your computer. On most modern
computers, this should be systemd.
Our simple linux computer, however, lacks an init program (not technically true, but we'll get into this in the
next chapter)! Let's make a simple init program: navigate into your filesystem root directory, and create the
following file at the root of that directory with the name init:
#!/bin/sh
echo "Hello, world!"
Run chmod +x init to make it an executable (this was why we enabled the kernel option to recognize scripts
starting with a hashbang as executables).
Now that we have this init file, how do we actually let the kernel load it? We have to turn it into an initramfs: an initial ram filesystem.
Although in this tutorial, we have complete knowledge about the (virtualized) hardware we are running our OS on, OS images targetted at a wider range of people have to remain adaptable to the presence of different hardware: depending on what devices are detected, different drivers will be loaded.
Placing this logic in the kernel code is inelegant and hard to maintain. Instead, an initramfs is created to contain all the tools that may be needed, and the kernel is booted with access to the initramfs; then, normally written code, like a shell script or an executable, can detect hardware and load the necessary modules.
The normal boot procedure of a Linux system will be covered later, but, for now, all that you need to know is that an initramfs offers a convenient way of providing a root filesystem, but it doesn't offer a means of actually interacting with any hardware.
Here, we will be manually creating an initramfs, or an initrd (initial ramdisk), but there are
other tools such as dracut and mkinitcpio.
An initramfs is a variety of cpio archive; think of it as a program like tar. cpio takes a bunch of paths as input and prints out the archive on its output. We'll also be compressing it, as a good practice; strictly, this shouldn't be necessary, but as the filesystem grows, it is beneficial to keep the size of the archive lower. As stated above, we'll be using gzip.
To perform these tasks, run the following command in the filesystem root:
find . | cpio --create --verbose --format=newc | gzip --best > ../initrd
The format argument passed to cpio basically tells it to use the new version of the cpio file format.
Now, we have an initrd file in the parent folder, and all that remains is booting the kernel with this initial filesystem!
Running our shell
This step is the simplest of them all if you've been following along correctly! With qemu being installed, run:
qemu-system-x86_64 -kernel path/to/bzImage -initrd path/to/initrd
If all goes well, you should see something like this:
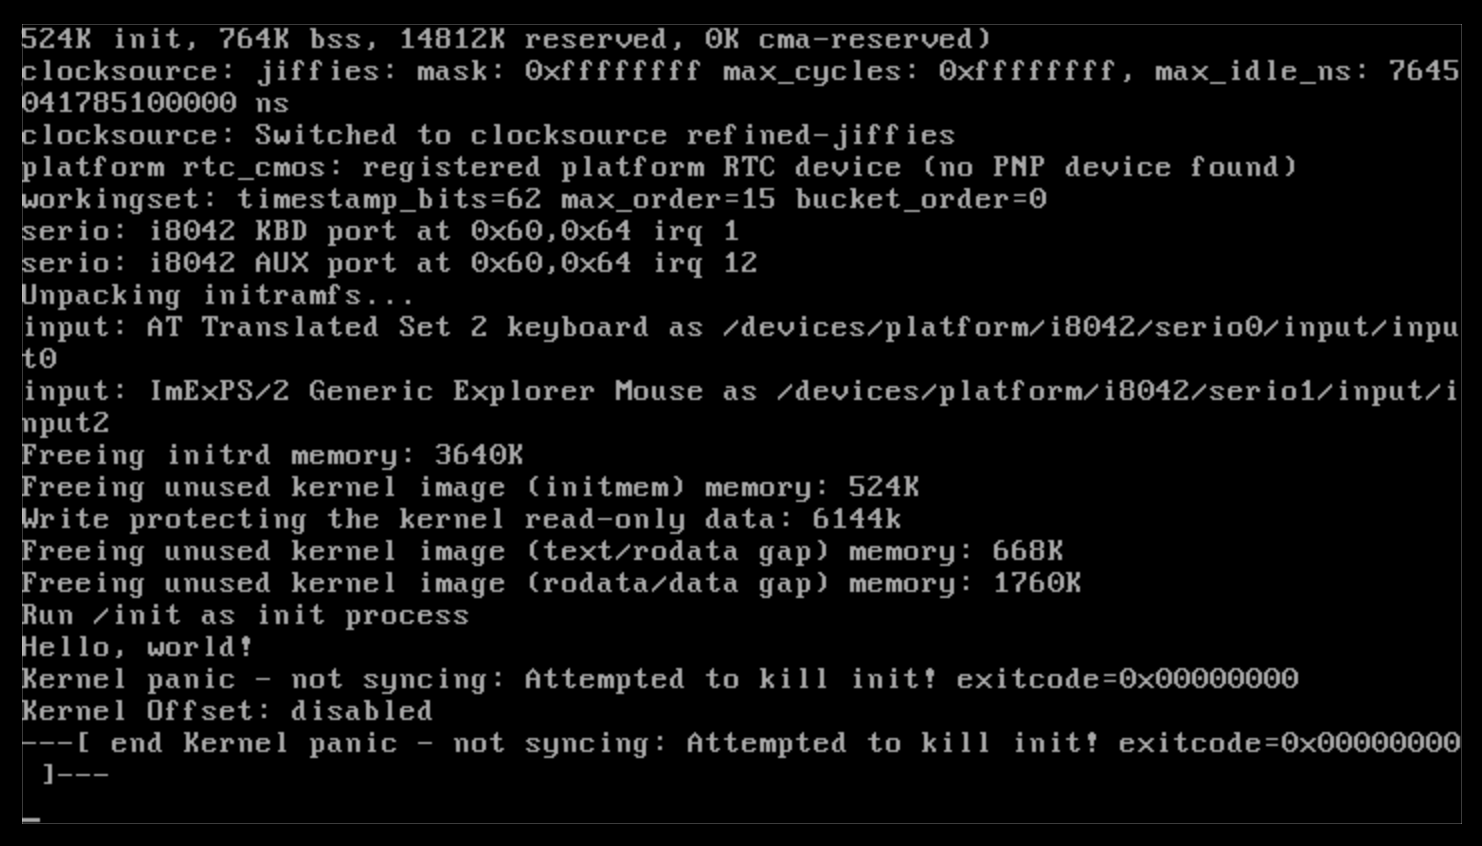
If you see a "Hello, world!" in your output, congratulations! You've pretty much built a
minimal system! All you need to do to get a shell is to replace that echo "Hello, world!"
line in the init file with something like sh, recreate the cpio archive,
and you'll be good to go!
If you can do this successfully, great! Our minimal system is done. But this was probably less educational than you hoped: if you're like me, you've probably never even interacted with any of these tools or components of your operating system!
Don't worry: right now, we're starting out at the bottom level. As we begin to climb out, more things will start to seem familiar! So let's start the ascent!